Introduction to Ubuntu 24.04 LTS
Ubuntu 24.04 LTS, codename "Noble Numbat", is the latest version with long-term support (LTS) released in April 2024. This edition marks a firm step towards stability, security and ease of use, consolidating itself as one of the most beloved Linux distros by both new users and businesses.
With guaranteed support during 5 years (until 2029)Ubuntu 24.04 LTS reflects the commitment to reliability and innovation that Canonical has been cultivating since 2004.
What is Ubuntu?
Ubuntu is a free and open-source GNU/Linux-based operating system developed by Canonical Ltd. Its philosophy revolves around accessibility, community, and simplicity.
Translated into plain English: Ubuntu seeks to bring free software to everyone, regardless of their technical level. Whether for your laptop, your desktop PC, your server, or even the cloud, Ubuntu offers a polished and robust experience.
Key Features of Ubuntu 24.04 LTS
✅ Updated kernel:
- Includes Linux 6.8, with performance improvements, expanded support for recent hardware, and power optimizations.
✅ Extended Support (LTS):
- 5 years of security and maintenance updates (extendable to 10 years with Ubuntu Pro).
✅ GNOME 46 as the default desktop environment:
- Smoother, polished animations, and a focus on productivity and accessibility.
✅ Package Update:
- LibreOffice 7.6, Firefox 124, Thunderbird 115, and Python 3.12, among others.
✅ Security improvements:
- Strengthened support for Secure Boot, improvements to AppArmor, and new sandboxing capabilities.
✅ Renewed installer:
- Based on Flutter, with a modern, intuitive interface and support for native ZFS and LUKS.
✅ Improved support for containers and cloud:
- Docker, Kubernetes, and Snaps ready for enterprise environments.
✅ Improvements in graphics and multimedia performance:
- Updated Mesa drivers, improved Wayland support, and expanded support for AV1 and modern codecs.
Quick summary
Ubuntu 24.04 LTS consolidates itself as the all-terrain distro for the user who wants Stability, long-lasting support and ease of use, without giving up cutting-edge technology.
Ideal for professionals, students, developers and businesses that need a robust and secure environment for everyday use.
Requirements table for installing Ubuntu 24.04 LTS
| Requirement | Recommended minimum | Suggested optimum |
|---|---|---|
| Processor | Dual core at 2 GHz | Quad core at 2.5 GHz or higher |
| RAM memory | 4GB | 8 GB or more |
| Disk space | 25 GB | 50 GB or more |
| Graphic card | VGA graphics support and basic 3D acceleration | OpenGL/Wayland compatible GPU for better experience |
| Screen resolution | 1024×768 | 1920×1080 or higher |
| Internet connection | Recommended for updates | Stable connection for Snap and additional packages |
Quick Conclusion
Ubuntu 24.04 LTS doesn't reinvent the wheel, but it polishes it to a shine. It maintains its core—ease of use, stability, and community—while embracing modern technologies and a long-term, sustainable approach.
Step-by-step installation process
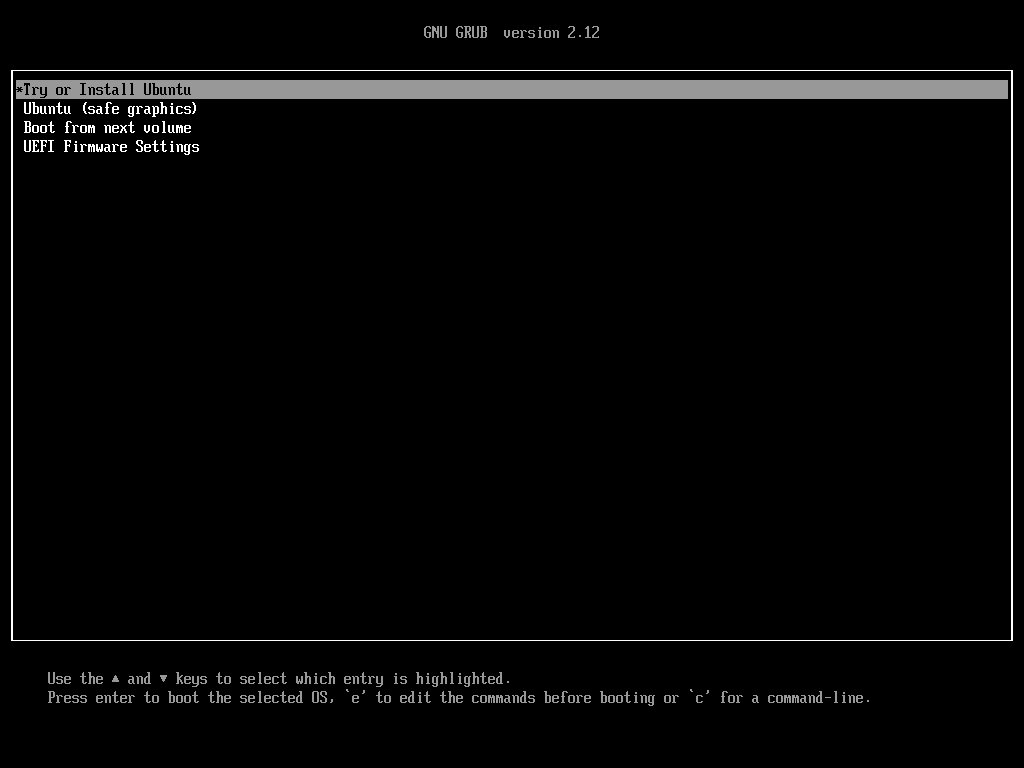
Installer options on the GRUB screen
Try or Install Ubuntu (default)
- What are you doing:
Start the system in mode Live, that is, you boot Ubuntu from the USB without installing anything on the disk.
From there, you can "test" Ubuntu to see if all the hardware is working (network, sound, graphics), and if you're happy with it, launch the graphical installer. - Recommended for:
Users who want to test before installing or have compatibility concerns.
Ubuntu (safe graphics)
- What are you doing:
Boot Ubuntu using basic graphics drivers (Safe Mode). This prevents problems with NVIDIA, AMD, or integrated chips that sometimes block normal boot. - Recommended for:
Cases where normal startup ends in a black screen or gives graphical errors.
Boot from next volume
- What are you doing:
Jump to the next boot device (for example, if you have another operating system installed or a system hard drive). - Recommended for:
If you change your mind and want to boot the system that was already on the disk without continuing with the installation.
UEFI Firmware Settings
- What are you doing:
Restart your computer and go directly to UEFI/BIOS setup. - Recommended for:
Users who need to change firmware settings, such as Secure Boot, boot order, or virtualization settings.
Quick corporate style summary
| Option | Main use | Target audience |
|---|---|---|
| Try or Install Ubuntu | Test and/or install with a full graphical environment | Almost all users |
| Safe graphics | Avoid graphical errors with basic drivers | Users with conflicting GPU |
| Boot from next volume | Boot another system without installing Ubuntu | Dual boot users |
| UEFI Settings | Adjust firmware/BIOS | Advanced and technical |
Option e (edit) and c (command-line)
e — Edit commands before starting
- What are you doing:
When you presse, you enter mode GRUB entry edition.
It leaves you temporarily modify kernel parameters before booting the system. - What is it for?
- Add or remove options to the kernel, for example:
nomodesetto avoid graphics problems.acpi=offfor errors with ACPI or suspend.- Change resolutions or special hardware parameters.
- Very useful for debug, problematic installations or conflicting hardware.
- Add or remove options to the kernel, for example:
- Temporary or permanent?
- Temporary. Upon reboot, changes are lost.
c — Command-line
Advanced users, system administrators, or anyone struggling with a boot that won't work.
What are you doing:
Open the GRUB shell.
Here you can type GRUB commands directly to manage manual boots or diagnose.
What is it for?
View and modify advanced settings (for example, view disks with ls, find partitions, boot kernels manually).
Recover systems if the menu is corrupted or won't boot.
Review modules, set variables, etc.
Target audience:
Advanced users, system administrators, or anyone struggling with a boot that won't work.
Summary Option e (edit) and c (command-line)
| Option | Function | Main use |
|---|---|---|
e | Edit boot parameters | Quick and temporary tweaks, graphical debugging, ACPI, etc. |
c | GRUB Shell | Manual commands for advanced boot and recovery |
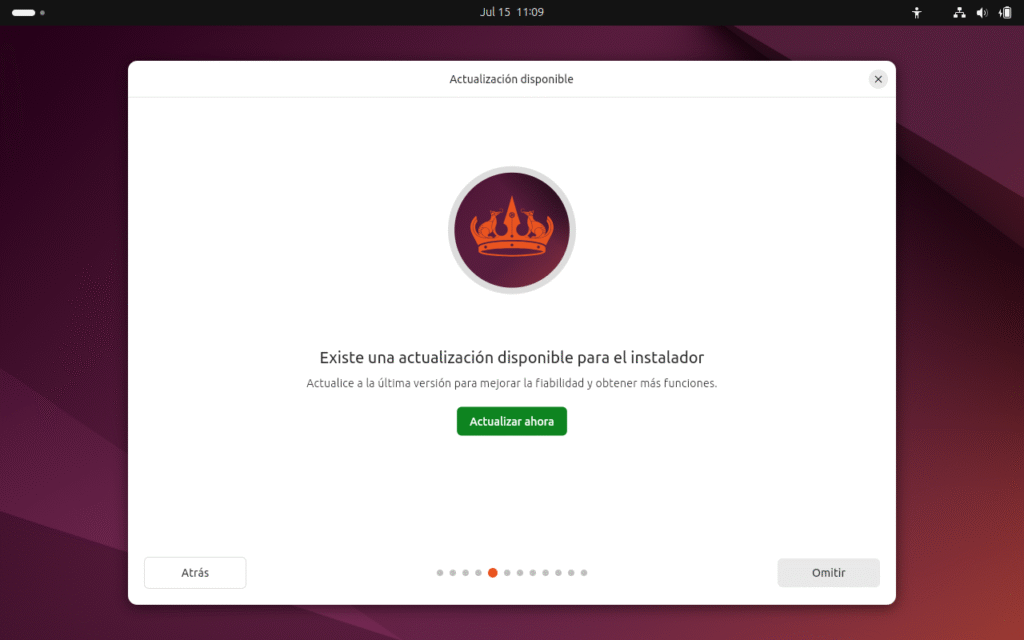
When installing Ubuntu, the new installer with some bugs requires an update and we reopen the Ubuntu installer with the Ubuntu Live option:
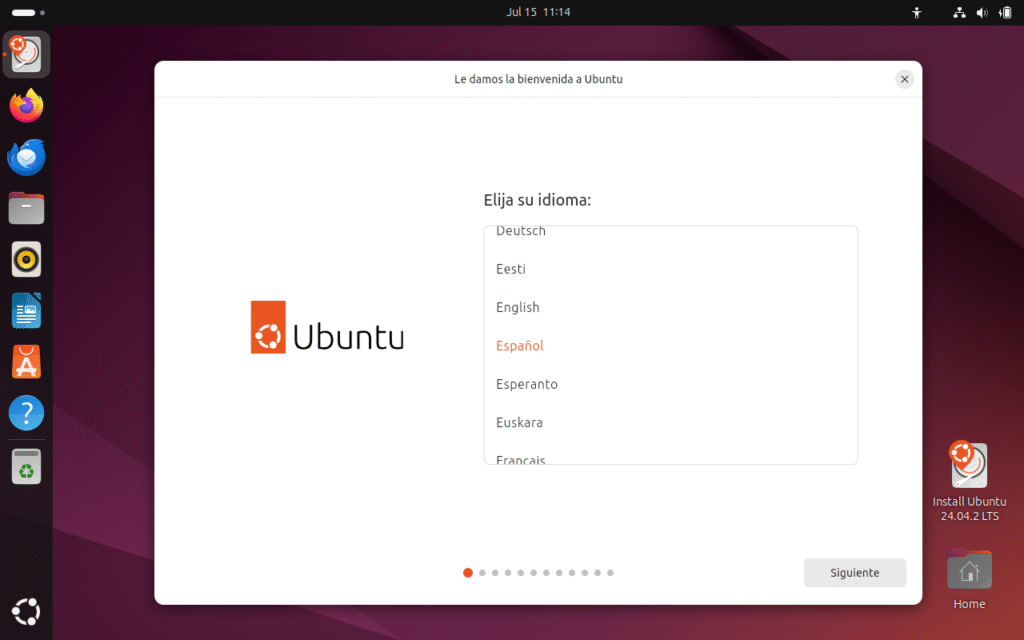
We choose the language, in my case Spanish from Spain and we do the following:
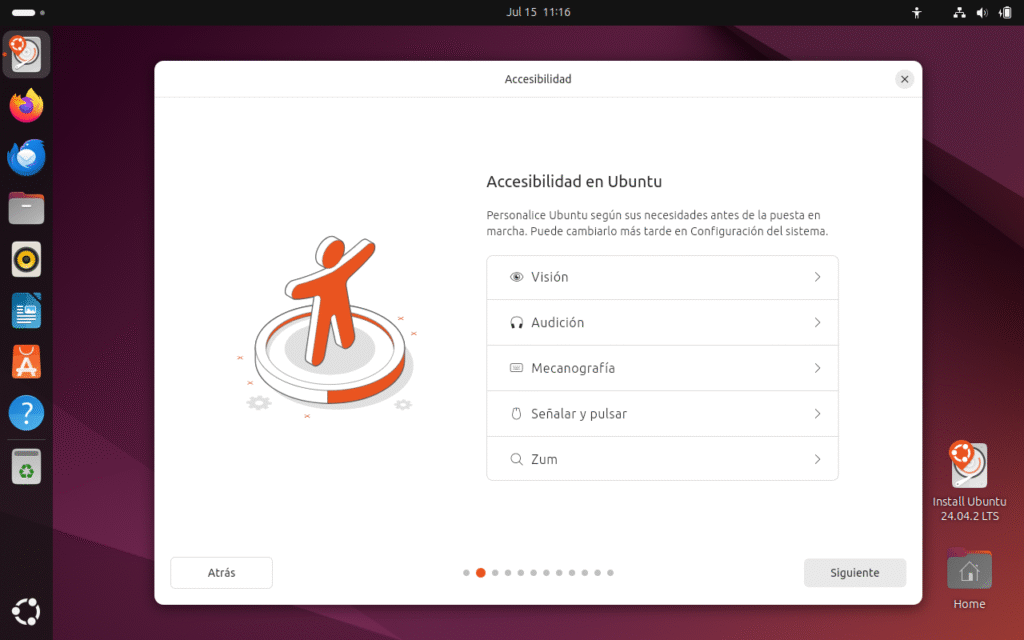
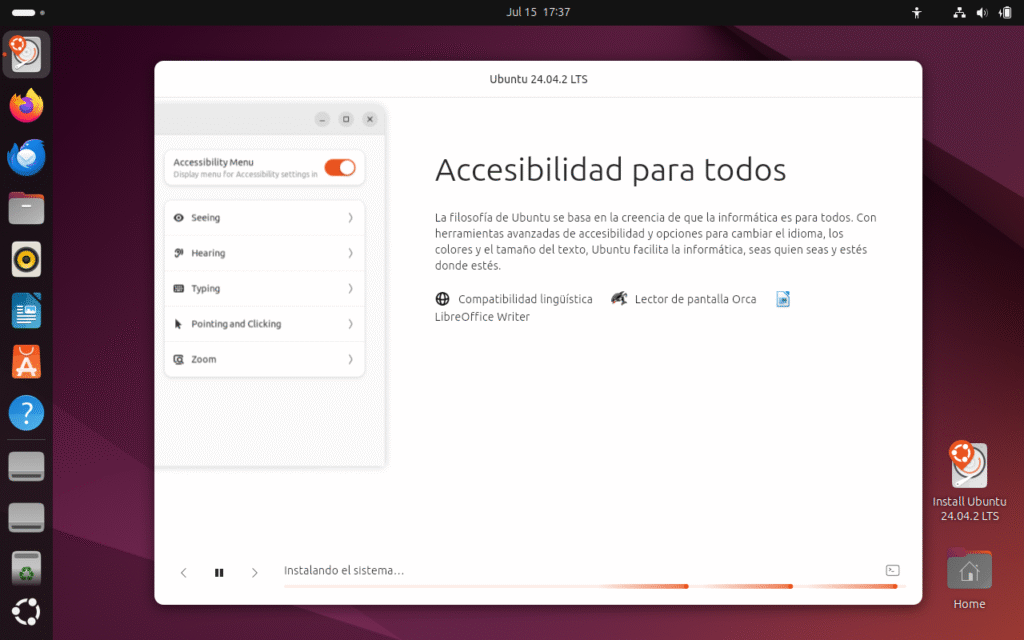
Accessibility Options in Ubuntu
👁️ Vision
- What it allows:
Options designed for people with low vision or partial/total blindness. - Typical functions:
- Screen reader (Orca).
- High contrast.
- Large font size.
- Extended cursor.
🎧 Hearing
- What it allows:
Options for people with hearing loss or deafness. - Typical functions:
- Visual alerts instead of sounds.
- Automatic subtitles (when there is compatible content).
- Visual indicators for system events.
⌨️ Typing
- What it allows:
Aids for users with reduced hand mobility or writing difficulties. - Typical functions:
- On-screen keyboard.
- Slow keys to avoid accidental keystrokes.
- Sticky keys to press combinations without holding down multiple keys at once.
🖱️ Point and click
- What it allows:
Optimizes the use of the mouse or pointing devices for people with motor difficulties. - Typical functions:
- Dwell click: Pressing without physically clicking, just leaving the cursor still.
- Pointer speed settings.
- Click emulation.
🔍 Zoom
- What it allows:
Zoom in or out on the screen to improve visibility. - Typical functions:
- Full or partial desktop Zoom.
- Shortcuts to quickly zoom in and out.
- Cursor tracking modes.
Board Accessibility options in Ubuntu
| Option | Addressed to | Examples of key functions |
|---|---|---|
| Vision | Low vision / blindness | Screen reader, high contrast |
| Hearing | Hearing loss | Visual alerts, subtitles |
| Typing | Reduced hand mobility | On-screen keyboard, slow keys |
| Point and click | Motor difficulties | Click to stay, mouse settings |
| Zoom | Low vision | Screen zoom, cursor tracking |
In my case, since I don't have any disability, I don't select anything and just click next:
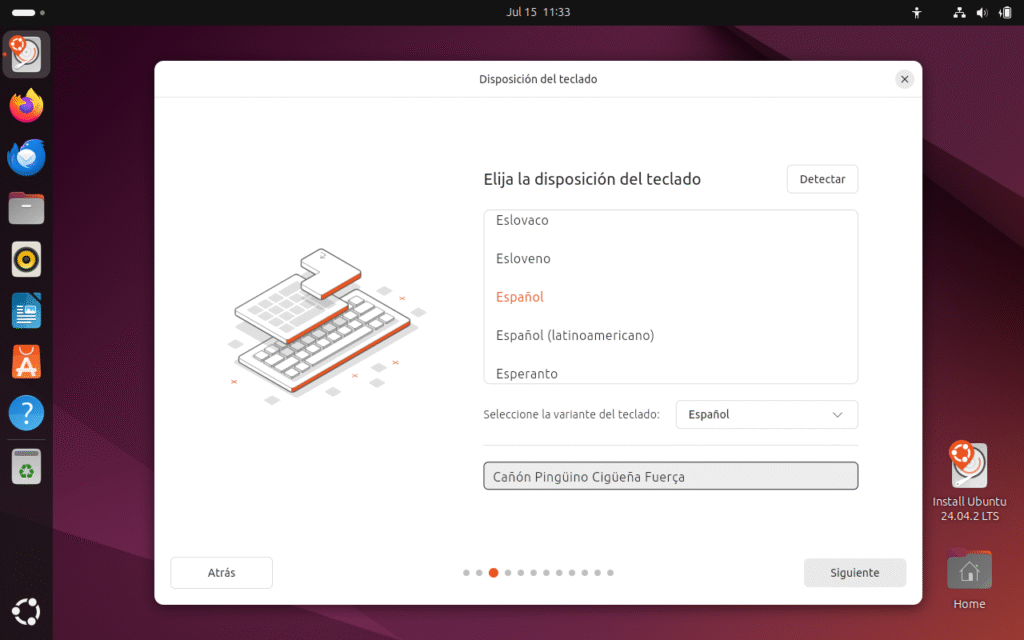
In my case I select the Spanish keyboard and check with the words "Canyon, Penguin, Stork, Force» that recognizes me and writes well in Spanish (Castilian) and we give it to the following:
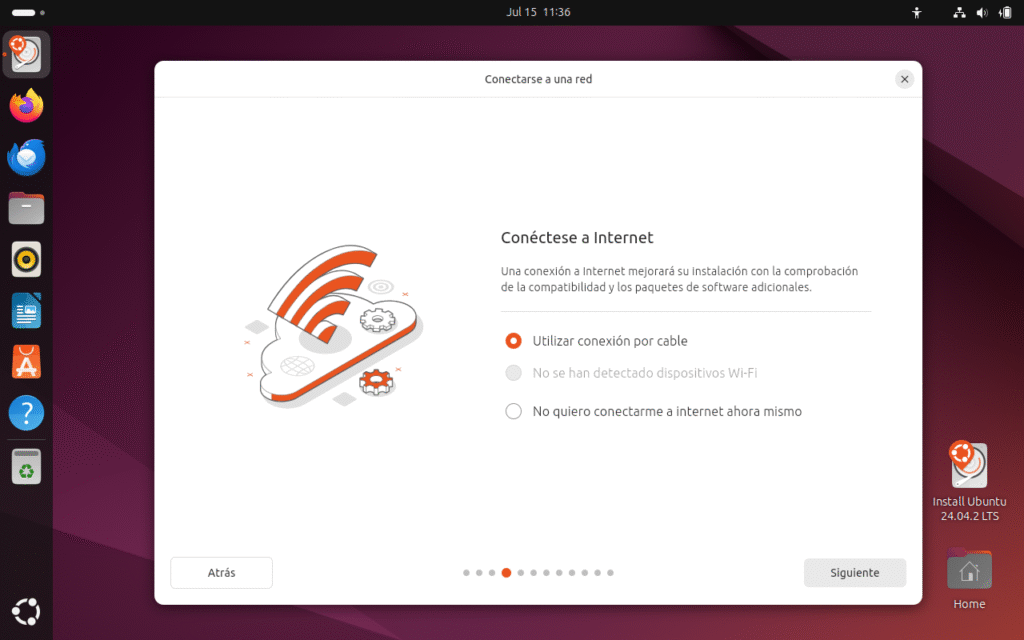
In my case, I use a cable connection, but there is also the option to select Wi-Fi or not connect to the Internet, at the user's choice. I recommend an Internet connection to be able to update the Ubuntu installation. We click on the following:
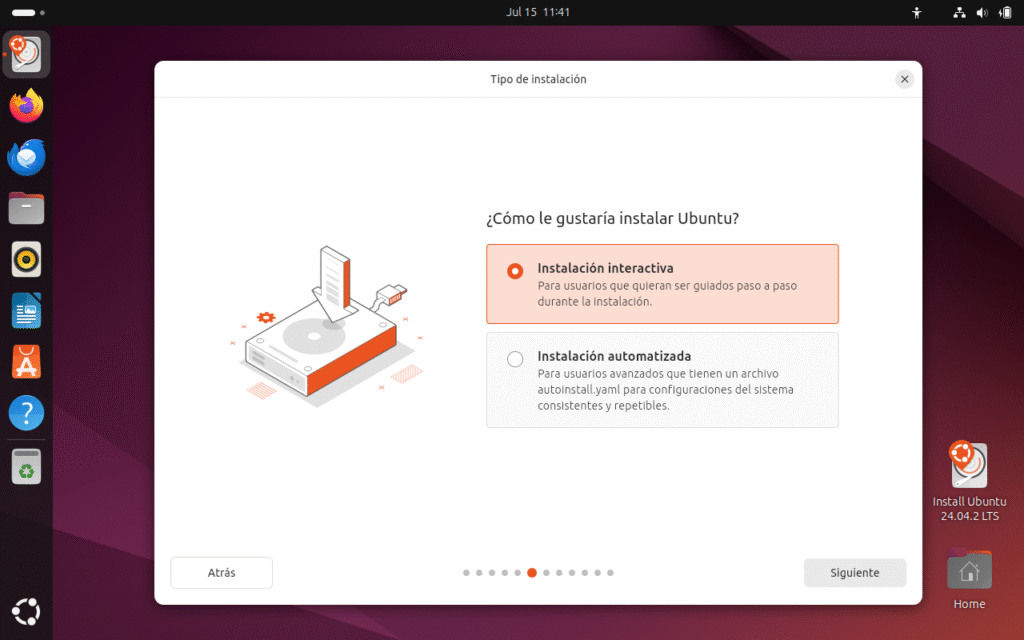
🔹 Interactive installation (selected by default)
✅ ¿Qué es?
- It's the way guided step by step.
- The classic "human" installation, where you manually choose each option: language, keyboard, partitions, user, updates, etc.
💼 ¿Para quién?
- For standard users, beginners, or anyone who wants to have control and see what happens.
⚙️ Ventajas
- Flexible: you can customize every step.
- You don't need any prior knowledge of automation or scripting.
🔸 Automated installation
✅ ¿Qué es?
- It is based on a file
autoinstall.yaml. - It allows for fully automatic and repeatable installations, without manual intervention (hands-free mode).
💼 ¿Para quién?
- For advanced users, admins, companies or technicians who want to install the same configuration on multiple machines (e.g., on servers, classrooms, offices).
⚙️ Ventajas
- Save time on mass deployments.
- Ensures consistency (all machines stay the same).
- You can predefine everything: partitions, users, packages, network settings, etc.
Installation options
| Option | For whom | Key Features |
|---|---|---|
| Interactive | Normal users | Step by step, customizable, guided. |
| Automated | Admins and advanced | Uses YAML file, no manual intervention, ideal for mass deployments. |
I am going to choose the Interactive installation, since I am not a company and I click on the following:
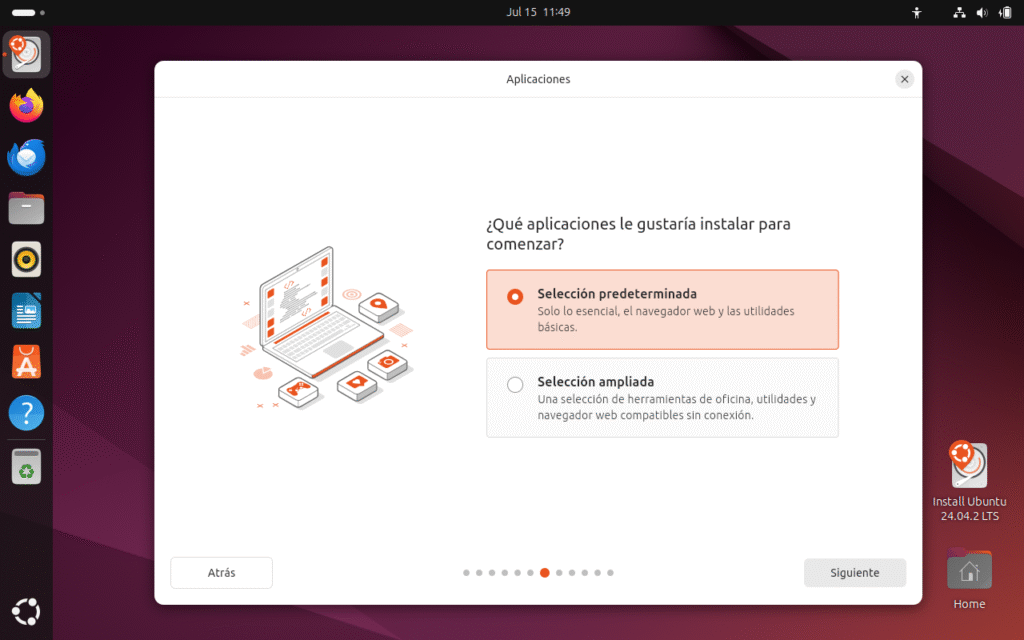
🟠 What apps would you like to install to get started?
In this step, the installer lets you decide what base software set you want to have on your newly installed Ubuntu.
✅ Default selection
📌 ¿Qué incluye?
- Just the essentials:
- Web browser (Firefox by default).
- Basic system utilities (calculator, image viewer, file manager, settings, etc.).
- No office suite or extra apps.
💼 ¿Para quién?
- Users who want a system light and minimalist.
- For those who prefer to manually install their tools afterward (for example, if you'll only be using cloud apps or specific Snap/Flatpak packages).
⚡ Ventajas
- Faster installation.
- Less space occupied at the entrance.
- Less bloatware or apps you might not use.
🟢 Expanded selection
📌 ¿Qué incluye?
- A more complete set, similar to the "normal installation" of previous versions:
- Office suite (LibreOffice).
- Mail clients (Thunderbird).
- Some multimedia tools.
- More utilities and offline apps ready to use.
💼 ¿Para quién?
- Users who want a system ready to work from the first minute, without having to download anything extra.
- Ideal for PCs without a constant internet connection or for novice users.
⚡ Ventajas
- Functional system from the start.
- You don't need to search for and install basic apps afterwards.
🟢 Applications you would like to install to get started
| Option | What does it bring? | Advantages | Recommended for |
|---|---|---|---|
| Default | Only the essentials | Light, fast, clean | Advanced users, minimalists |
| Expanded | Extra tools | Ready to use, complete | New users, offices, no constant connection |
I'm going to choose the default to install the bare minimum and only the essentials to keep everything clean, since I like to install the software I need later. I click next:
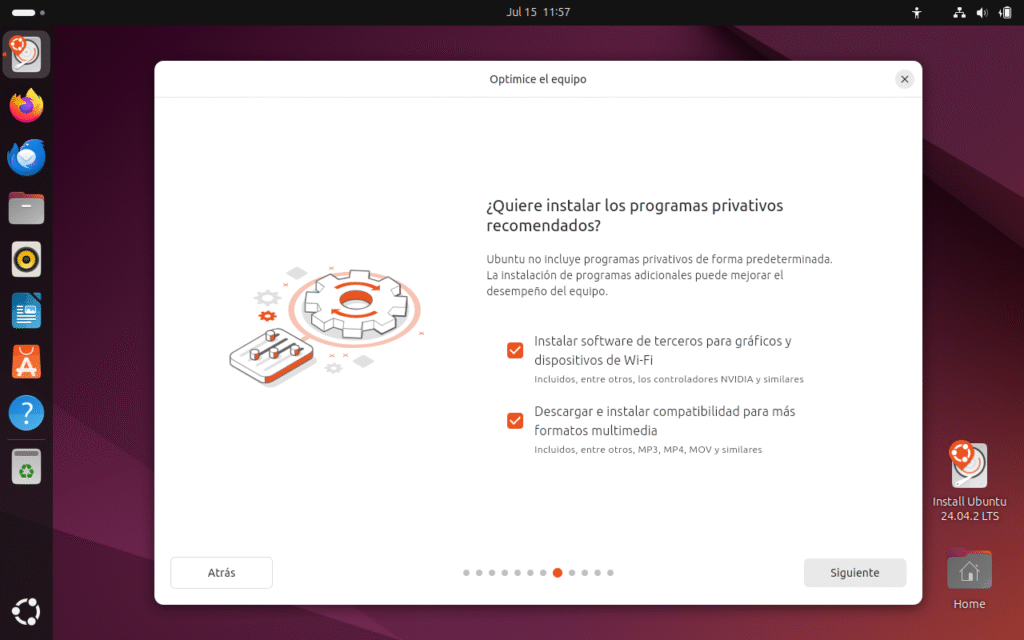
🟠 Do you want to install the recommended proprietary programs?
Ubuntu, by philosophy, does not include proprietary software (non-free) by default, to respect the purity of free software and avoid legal issues in some countries. But the corporate truth is that we often need these drivers and codecs for the system to work 100% on real hardware.
✅ Option 1: Install third-party software for graphics and Wi-Fi
📌 ¿Qué incluye?
- Proprietary drivers for graphics cards (for example, NVIDIA and some AMD).
- Firmwares for proprietary Wi-Fi adapters (Broadcom, etc.).
- Other binary blobs that help with performance and compatibility.
💼 ¿Para qué sirve?
- Ensures the GPU is running at full 3D acceleration.
- Improves compatibility with problematic Wi-Fi networks.
- Optimizes performance and reduces graphical bugs.
✅ Option 2: Download and install support for more media formats
📌 ¿Qué incluye?
- Restricted multimedia codecs or those with non-free licenses (MP3, AAC, H.264, H.265, MPEG-4, etc.).
- Support for playing and exporting audio/video in almost all popular formats.
💼 ¿Para qué sirve?
- Watch videos, listen to music, and stream without having to install anything extra afterwards.
- Use multimedia applications (such as VLC, Rhythmbox, etc.) without complications.
🟢 Table for installing recommended proprietary programs
| Option | What an improvement | Recommended for |
|---|---|---|
| Graphics and Wi-Fi drivers | Graphics acceleration, reliable Wi-Fi connection | Almost all users with recent hardware |
| Multimedia codecs | Audio/Video Playback and Editing | Home users, multimedia, content creators |
I select the two options: Install third-party software for graphics and Wi-Fi and Download and install support for additional media formats and click next:
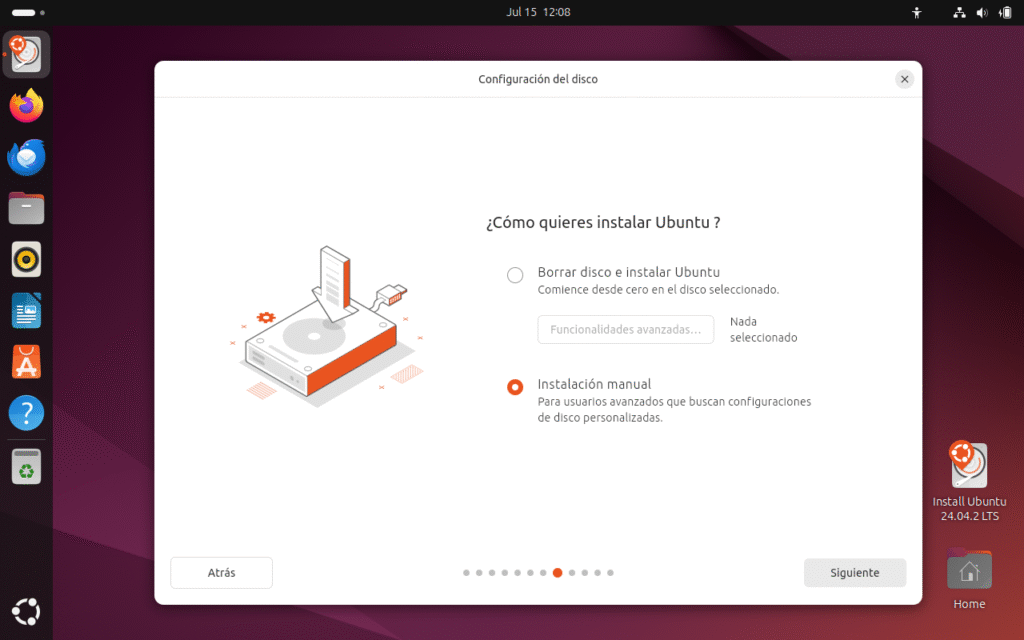
🟠 How do you want to install Ubuntu?
In this step, you choose how you are going to manage the hard driveBasically, they give you two paths:
✅ Erase disk and install Ubuntu
📌 ¿Qué hace?
- Delete all content from the selected disk.
- Automatically creates the necessary partitions (EFI, /, swap, etc.).
- Configures boot (GRUB) without manual intervention.
💼 ¿Para quién?
- Users who want things that are easy, fast, and straightforward.
- Ideal if you're going to use Ubuntu as your only operating system and don't need to keep anything.
⚠️ Atención
- Everything is lost: documents, photos, Windows, other partitions, etc.
🟠 What are “Advanced Features”?
These features are designed for users who need more specific or customized configurations at the storage level.
They appear when you choose "Erase disk and install Ubuntu", and then you select a disk.
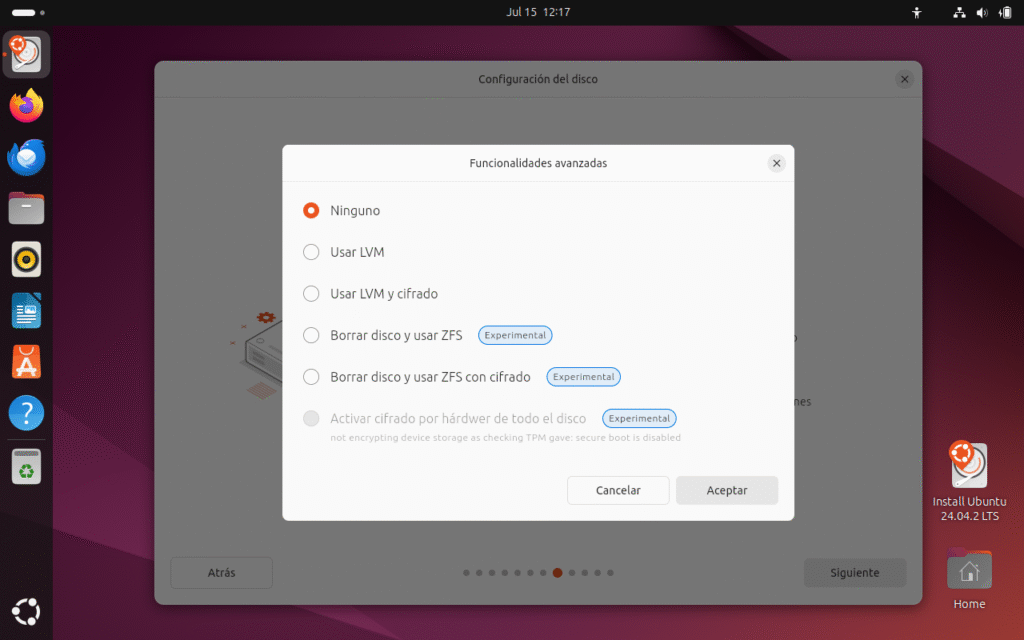
⚡ Use LVM (Logical Volume Management)
📌 ¿Qué es?
- A system for managing logical partitions instead of fixed ones.
- Allows you to easily resize volumes, add disks, create snapshots.
💼 ¿Para quién?
- Users who want future flexibility (e.g. expand
/homeeither/varwithout formatting everything).
🗂️ Encrypt the installation (Full Disk Encryption)
📌 ¿Qué es?
- Encrypt the entire disk using LUKS (Linux Unified Key Setup).
- Upon startup, it will ask you for a password to unlock the system.
💼 ¿Para quién?
- Users who prioritize the security and privacy, such as laptops that are transported a lot.
⚠️ Atención
- If you lose your password → you lose everything.
- Performance may be minimally affected (on modern CPUs, it is barely noticeable).
💽 Using ZFS (on some editions)
📌 ¿Qué es?
- An advanced file system with snapshot, auto-healing, and compression.
- Popular in servers and setups that require high reliability.
💼 ¿Para quién?
- Advanced users, devops, or admins looking for automatic snapshots and fast recovery.
⚠️ Atención
- Not recommended for beginners.
- Requires more RAM.
🟢 Board Advanced features
| Option | What it offers | For whom |
|---|---|---|
| LVM | Resize and manage volumes easily | Advanced users or future adjustments |
| Encryption | Protect data with a password | Users with high data sensitivity |
| ZFS | Snapshots, autocorrect, integrity | Sysadmins, critical environments |
🔧 Manual installation
📌 ¿Qué hace?
- Allows you to manually manage partitions.
- Can:
- Resize existing partitions.
- Create or delete partitions.
- Assign custom mount points (
/,/home,/boot, etc.). - Decide the size and location of the swap.
- Choose the file system (ext4, XFS, etc.).
💼 ¿Para quién?
- Advanced users or those who need to dual boot with Windows or other systems.
- Those who want to separate
/hometo preserve data during future reinstallations. - Those who use special disks or configurations (RAID, LVM, ZFS).
🟢 Board Erase disk and install Ubuntu either Manual installation
| Option | For whom | Advantages | Risks |
|---|---|---|---|
| Erase disk | Novice users | Easy, fast, automatic. | You lose everything. |
| Manual installation | Advanced / dual boot | Total control, flexible. | More steps, risk of error if you don't know. |
In all the tutorials I find on the internet, they all perform the installation of Ubuntu with the option Erase disk and install UbuntuI am going to do the manual installation, with the file system Ext4 and EFI To be sufficient for home use, there are more file systems that I'll detail technically. The installation will have five partitions on the hard drive and will be very comprehensive for installing Ubuntu 24.04 LTS. We follow these steps:
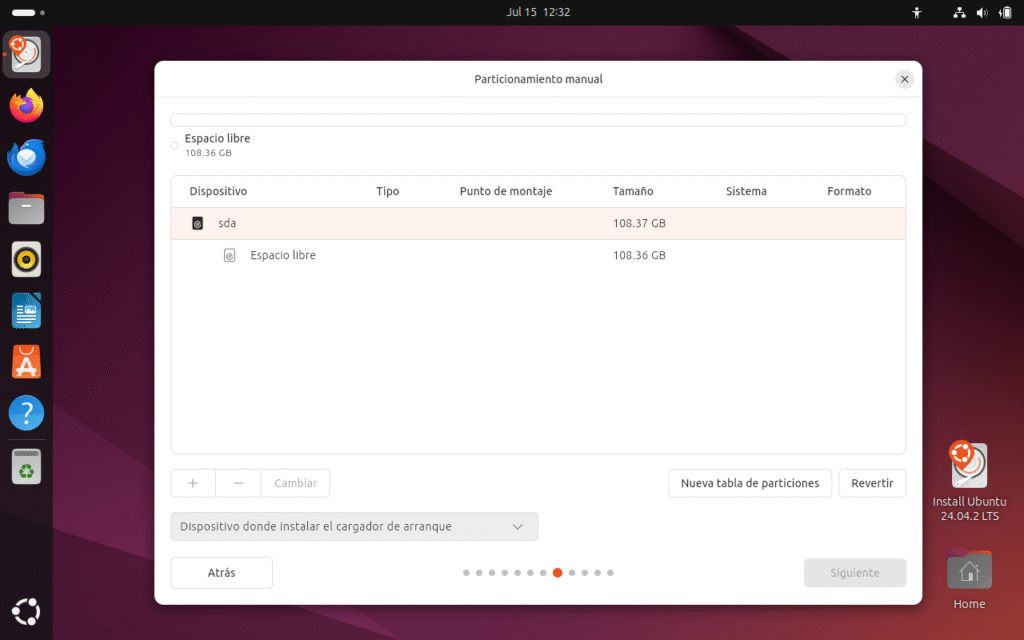
Screen: Manual Partitioning
🟢 Summary table: Ubuntu manual partitioner
| Element | Main function | Brief description |
|---|---|---|
| List of albums | Show detected disks | Displays all connected physical disks (e.g. sda, sdb). |
| Free space | Area available to create new partitions | Indicates unallocated space or no existing partitions. |
| + (Add) | Create new partition | Allows you to define size, mount point and file system. |
| − (Delete) | Delete selected partition | Free up space, delete the chosen partition. |
| Change | Edit existing partition | Modify the size, mount point, or format a partition. |
| New partition table | Reconfigure the entire disk layout | Delete all partitions and reset the partition table. |
| Revert | Undo unapplied changes | Cancel recent changes before confirming. |
| Selecting the bootloader | Define disk where GRUB is installed | Allows you to choose where the bootloader will be installed (usually sda). |
| Top space (bar) | Overview of the selected disk | Visually displays the distribution of partitions and free space. |
Since this is a new disk, we have to format it as GPT since it's a UEFI installation. So, go to "New Partition Table" and the free space for partitioning will appear on sda. Once this is done, go to + and create the 5 partitions on the disk.
First, let's briefly explain all the file systems in the Ubuntu installer:
File system in Ubuntu
✅ ext4 (Fourth Extended Filesystem)
The file system ext4 It is the gold standard for most modern Linux distributions and represents the natural evolution of ext3. It was introduced in 2008 and has proven to be extremely reliable and versatile in both desktop and server environments.
Among its main advantages is support for large volumes and files, being able to manage individual files of up to 16 TiB and file systems of up to 1 EiB (although in practice much smaller sizes are used).
In addition, ext4 introduces improvements to block allocation (extents), which reduces fragmentation and improves overall performance. It also supports journaling, a key feature that enables file system recovery after an unexpected power outage or critical failure, ensuring data integrity.
Due to its high stability and wide adoption, ext4 is considered the default choice for the root partition (/) and for the directory /home on desktop installations. In short: a robust, proven, and easy-to-maintain file system.
✅ XFS
XFS It is a high-performance file system originally created by Silicon Graphics (SGI) in the 1990s and later ported to Linux. Designed for workload-intensive systems with large data volumes, XFS is notable for its scalability and speed when handling large files.
Its optimized architecture enables highly efficient management of large directories and excellent concurrency, thanks to the use of structures such as B-trees and advanced journaling techniques.
An important feature is that XFS allows you to expand (increase) the size of a file system online (without unmounting), but not to reduce it. Therefore, its initial planning requires special attention.
XFS is especially valued in server, video storage, and database environments where sustained performance and massive data manipulation are a priority. In short, if efficient management of large amounts of information and scalability are your priority, XFS is a strategic partner.
✅ Btrfs (B-tree File System)
Btrfs, short for “B-tree File System,” is a modern and advanced file system designed to offer functionality comparable to systems like ZFS, but natively integrated into the Linux kernel.
Among its most notable features are: snapshots (snapshots), which allow you to create exact and consistent copies of the file system at a given point in time, facilitating recovery in the event of errors or failed updates. It also supports transparent compression, integrity verification using checksums, and advanced volume management.
Btrfs allows the creation of subvolumes, which offers great flexibility to manage different parts of the file system independently. This capability is especially useful for complex configurations and environments where a high degree of data control and security is required.
Although Btrfs has matured significantly in recent years, it is still considered by some users to be an "experimental" option for root partitioning, reserving it more for environments where advanced functionality is valued over absolute simplicity.
✅ vfat (FAT32)
The file system vfat, also known as FAT32, is an evolution of FAT16 and was originally designed to provide full compatibility across various operating systems, including Windows, macOS, and Linux.
Its main advantages are simplicity and universal compatibility, making it the preferred choice for removable devices such as USB flash drives, SD cards, and external drives.
However, FAT32 has significant technical limitations: it doesn't support files larger than 4 GB and lacks modern features such as user permissions, journaling, or native support for advanced features.
In the context of Linux, vfat is primarily used for partitioning EFI on UEFI boot systems (usually a small ~100–500 MB partition in FAT32 format) and for portable storage media that needs to be read by any device.
✅ Swap
The swap It is not a file system as such, but a special partition or file that acts as a virtual memoryIts main function is to expand RAM capacity, allowing the system to temporarily move inactive or waiting processes when physical memory becomes full.
In addition to serving as extra space, swap is required to enable the hibernation, since in this mode the contents of the RAM are saved in the swap before turning off the computer.
Although in recent versions a default is used swap file Instead of a partition, many advanced users and administrators prefer to continue creating a dedicated partition for performance and control reasons.
The recommended size depends on usage and available RAM, but generally ranges from 1GB to the full RAM size (in hibernation).
In short, swap is a key tool for ensuring stability, avoiding crashes, and keeping the operating system running smoothly.
✅ Unformatted partition
A unformatted partition It is a disk space that has been created as a partition, but to which no file system is assigned during installation.
Este recurso se utiliza principalmente para preservar datos existentes, por ejemplo, al reinstalar Linux y querer mantener intacta una partición /home. Cuando se marca como «sin formatear», el instalador respetará el contenido actual y solo la montará en el punto designado.
También puede usarse para reservar espacio para futuros sistemas operativos, pruebas de nuevos sistemas de archivos, configuraciones RAID o volúmenes lógicos (LVM).
Es crucial asegurarse de no marcar la casilla de «formatear», ya que en caso contrario se perderán todos los datos.
Esta opción es muy valorada en escenarios donde se requiere flexibilidad o en reinstalaciones donde la conservación de datos personales es prioritaria.
Mount Points and Home Directories in Linux
✅ /boot
El directorio /boot almacena todos los archivos necesarios para iniciar (bootear) el sistema. Aquí se encuentran el kernel de Linux, el initramfs (imagen inicial del sistema de archivos), y el cargador de arranque (GRUB o cualquier otro gestor).
Separate /boot en una partición independiente puede ser útil en configuraciones complejas, como cuando se usan cifrados completos de disco (LUKS) o sistemas de archivos no soportados por GRUB en la raíz.
En general, /boot no requiere mucho espacio: con 500 MB suele ser más que suficiente. Es fundamental mantenerlo limpio y no llenarlo con kernels antiguos innecesarios, ya que un /boot lleno puede impedir actualizar o arrancar correctamente.
✅ / (root)
La raíz del sistema, conocida simplemente como /, es el punto de inicio de todo el sistema de archivos en Linux. Todos los demás directorios cuelgan de esta raíz, formando un árbol jerárquico.
Aquí se alojan los archivos básicos del sistema operativo y los binarios esenciales que permiten que el sistema funcione.
En la mayoría de instalaciones domésticas o básicas, todo se aloja en una sola partición /, incluyendo /home y demás. Para instalaciones más avanzadas o productivas, se recomienda separar algunas rutas críticas en sus propias particiones para mejorar la seguridad, la facilidad de mantenimiento y la recuperación ante fallos.
El tamaño recomendado para / suele oscilar entre 20 y 50 GB si /home se encuentra en una partición separada.
✅ /home
El directorio /home contiene todos los archivos y configuraciones personales de cada usuario. Dentro de /home, cada usuario tendrá su carpeta (por ejemplo, /home/javier).
Separate /home en su propia partición ofrece múltiples ventajas:
- Permite reinstalar o actualizar el sistema sin perder datos personales.
- Facilita las copias de seguridad y la migración a otros equipos.
- Mejora la seguridad y el aislamiento de los datos.
The size of /home dependerá del uso y del tipo de archivos que se almacenen: fotos, vídeos, proyectos, etc.
✅ EFI (ESP — EFI System Partition)
The partición EFI (ESP) es obligatoria en sistemas con firmware UEFI y sustituye al antiguo MBR.
En esta partición, que suele usar formato FAT32, se almacenan los archivos del gestor de arranque EFI (por ejemplo, /EFI/ubuntu/grubx64.efi).
La partición EFI suele ser pequeña, entre 100 y 500 MB, y debe estar montada en /boot/efi.
Sin esta partición correctamente configurada, el sistema no podrá arrancar en modo UEFI.
✅ /tmp
El directorio /tmp se utiliza para almacenar archivos temporales generados por el sistema y las aplicaciones.
Es común que los archivos dentro de /tmp se borren automáticamente al reiniciar o después de cierto tiempo. Por esta razón, no debe usarse para almacenar datos importantes.
En sistemas con alta carga de trabajo (por ejemplo, servidores de compilación o renderizado), /tmp puede montarse en su propia partición o incluso en memoria (tmpfs) para mejorar el rendimiento.
✅ /usr
El directorio /usr (Unix System Resources) contiene la mayoría de aplicaciones de usuario, librerías, documentación y binarios no esenciales para el arranque básico.
Dentro de /usr encontramos subdirectorios importantes como:
/usr/bin: programas de usuario./usr/lib: bibliotecas compartidas./usr/share: datos y archivos compartidos.
Separate /usr en su propia partición puede mejorar la seguridad y permitir configuraciones avanzadas, especialmente en entornos multiusuario o servidores.
✅ /var
El directorio /var almacena datos variables que cambian constantemente mientras el sistema está funcionando. Ejemplos:
- Logs del sistema (
/var/log). - Archivos de spool de impresión.
- Bases de datos temporales.
- Cachés de paquetes.
En servidores (por ejemplo, servidores web o de correo), /var puede crecer considerablemente, por lo que a menudo se recomienda asignarle una partición separada para evitar que un crecimiento descontrolado llene la raíz del sistema.
✅ /srv
El directorio /srv se utiliza para contener datos servidos por el sistema, como contenido web, repositorios FTP o servicios compartidos de red.
Por ejemplo:
/srv/www: para páginas web./srv/ftp: para archivos disponibles por FTP.
Separate /srv en su propia partición puede facilitar la administración y aumentar la seguridad en servidores.
✅ /opt
El directorio /opt (opcional) se destina a aplicaciones de software adicionales que no forman parte del sistema base ni se distribuyen mediante el gestor de paquetes estándar.
Ejemplo típico: aplicaciones comerciales o software descargado manualmente (por ejemplo, Google Chrome, software CAD, etc.).
Montar /opt en una partición independiente permite aislar aplicaciones adicionales y simplificar reinstalaciones o actualizaciones.
✅ /usr/local
El directorio /usr/local se usa para instalar software compilado manualmente por el administrador del sistema. Esto evita que el software instalado manualmente interfiera con los paquetes gestionados por el sistema.
Dentro de /usr/local encontramos subdirectorios como:
/usr/local/bin: binarios personalizados./usr/local/lib: bibliotecas locales./usr/local/share: datos compartidos.
Esta estructura facilita el mantenimiento, especialmente en entornos donde se compila y prueba software frecuentemente.
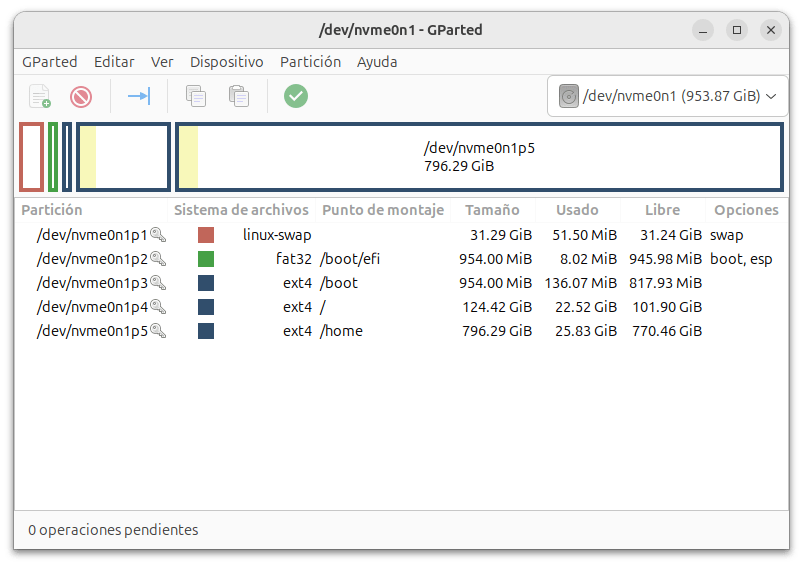
Esta es la imagen de como va a quedar el particionamiento de Ubuntu con Gparted con 1 TB de disco duro:
Swap Partition

Como tenemos 4 GB de memoria ram definidas en el sistema, creamos la Swap con 8 GB, utilizamos como Swap sin punto de montaje y le damos aceptar.
Partición EFI
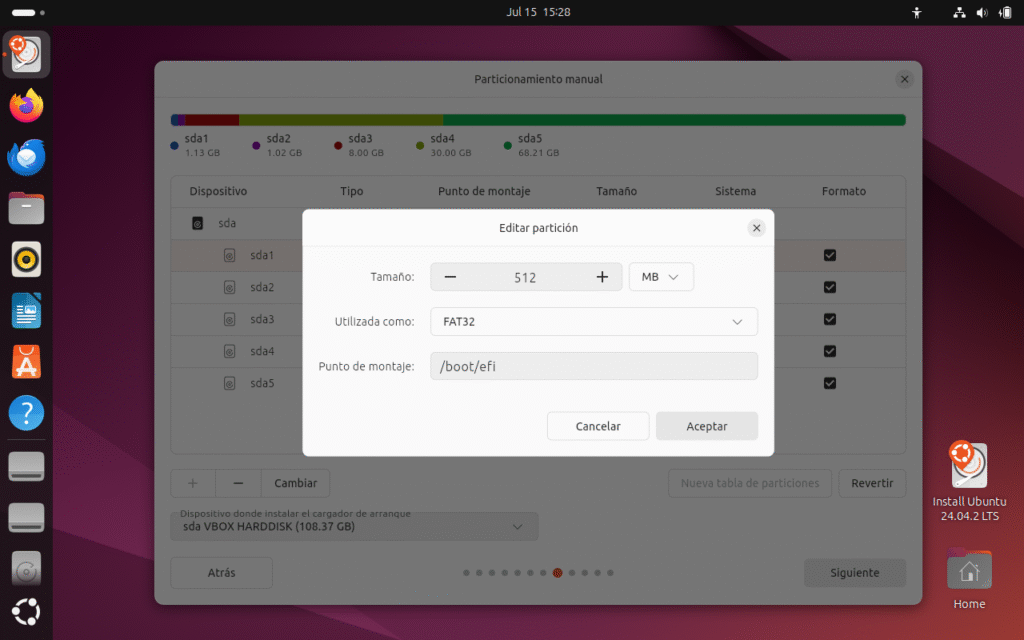
Creamos la partición EFI para UEFI de 512 MB como FAT32 y escribimos el punto de montaje /boot/efi y le damos aceptar. (El instalador tiene un pequeño buf en la creación de la efi, será corregido en las proximas versiones de Ubuntu. Para crear bien la EFI dan click a Dispositivos donde se va a instalar el cargador de arranque y te genera la partición EFI el instalador y la modificas con la opción Cambiar, tal como esta en la imagen) Si yo fuera Canonical, hubiera dejado el instalador antiguo para esta LTS, y el nuevo instalador lo hubiera sacado con perfecta funcionalidad en las versiones menores como Ubuntu 24.10. Soy partidario de cuando saco un software debe trabajar como debe sin ningún fallo, tampoco soy partidario de fechas exactas, lo importante es sacar un sistema operativo que funciona, como nos tiene acostumbrados el proyecto Fedora y el proyecto Debian.
Partición /boot
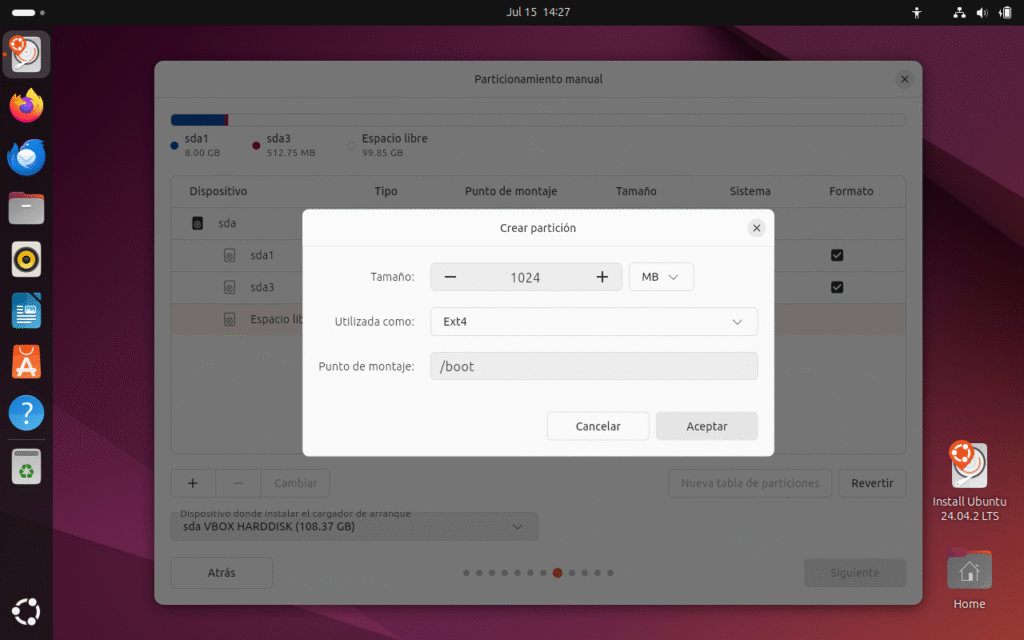
Creamos la partición /boot con 1024 MB con sistema de archivos EXT4 y punto de montaje /boot y le damos a aceptar.
Partición /

Creamos la partición / con 30 GB con sistema de archivos EXT4 y punto de montaje / y le damos a aceptar.
Partición /Home separada.
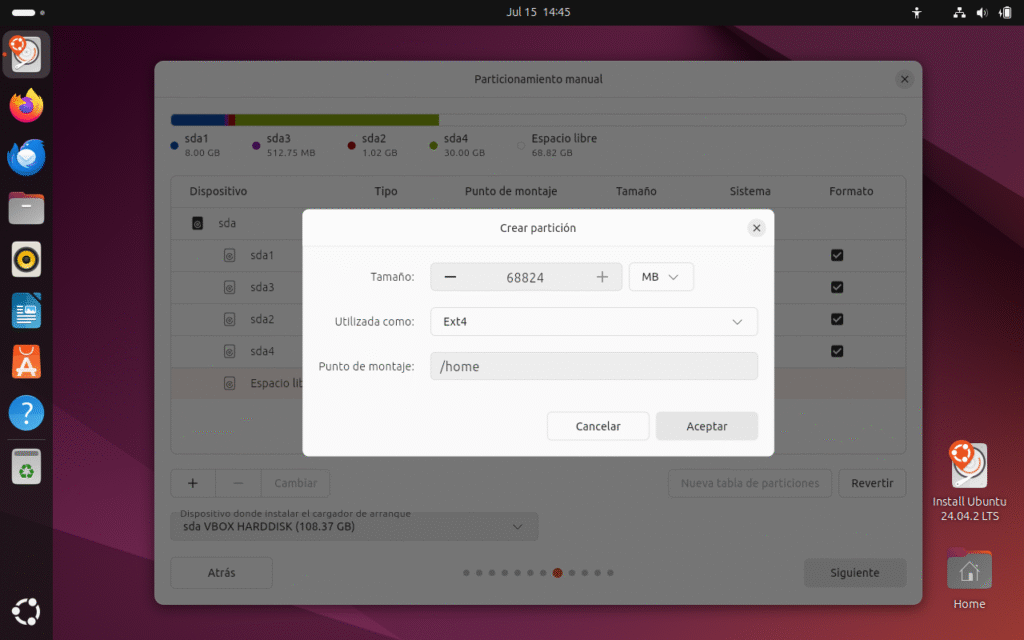
Creamos la partición /home separada con 68824 MB con sistema de archivos EXT4 y punto de montaje /home y le damos a aceptar.
Así es como queda el particionamiento del disco duro en Ubuntu:
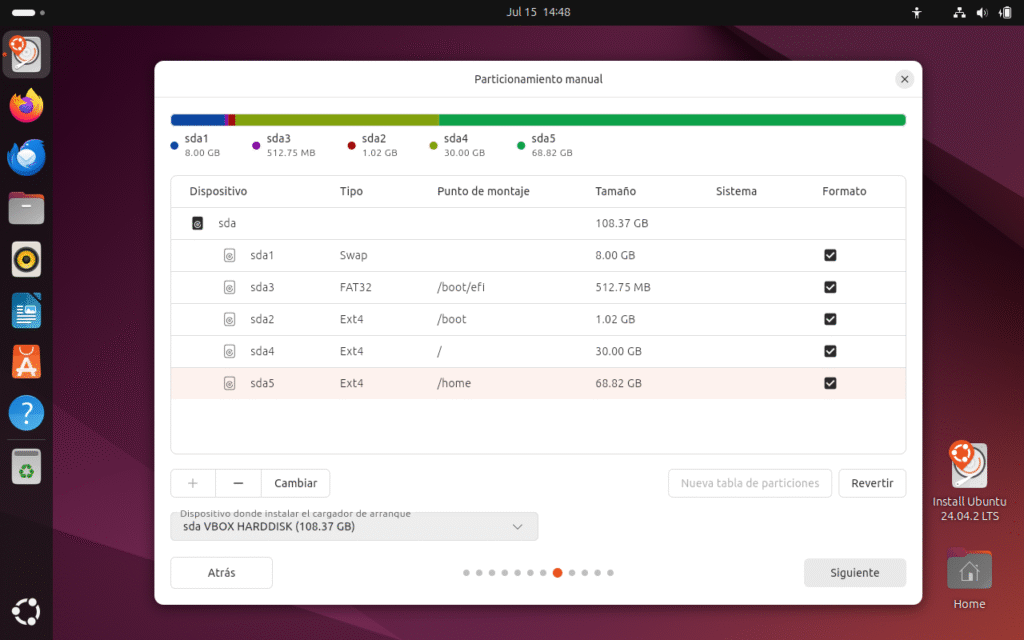
El dispositivo de donde se va a instalar el cargador de arrranque lo dejamos por defecto ya que solo vamos a instalar Ubuntu en ese disco duro y no hay otros sistemas operativos como otros Linux o Windows 11. Le damos a siguiente:
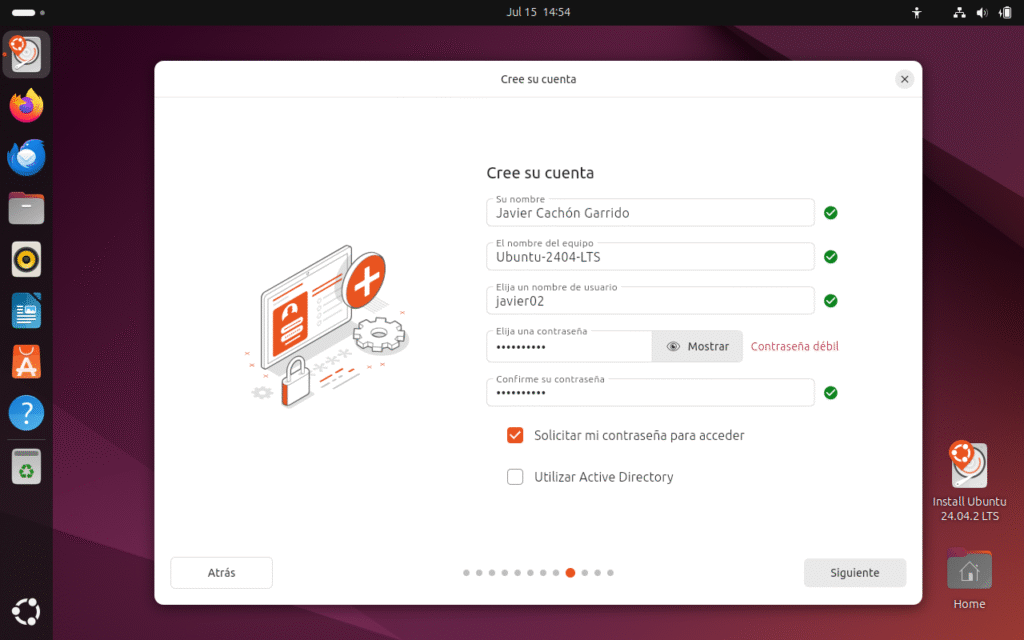
🟠 Pantalla: Cree su cuenta
✅ ¿Qué es?
En esta sección defines la cuenta principal de usuario que tendrá acceso al sistema una vez instalado. También se configuran nombre del equipo y opciones de autenticación.
💼 Campos explicados
✍️ Su nombre
- Tu nombre completo (en este caso: Javier Cachón Garrido).
- Aparece en la pantalla de inicio de sesión y en el entorno gráfico.
💻 El nombre del equipo
- Identifica tu máquina en la red (ej.: Ubuntu-2404-LTS).
- Se usa, por ejemplo, cuando compartes archivos o usas SSH.
👤 Elija un nombre de usuario
- Nombre corto para iniciar sesión (ej.: javier02).
- Es el identificador real del usuario en el sistema.
🔑 Elija una contraseña
- Contraseña para este usuario.
- Aquí te avisa si es débil (en rojo) y te sugiere hacerla más fuerte.
🔑 Confirme su contraseña
- Para verificar que no hay errores de tipeo.
- Debe coincidir exactamente con la anterior.
✅ Opciones adicionales
☑️ Solicitar mi contraseña para acceder
- Si está activado, pedirá contraseña al iniciar sesión (recomendado por seguridad).
⬜ Utilizar Active Directory
- Para unir el equipo a un dominio de Active Directory, usado en redes empresariales (por ejemplo, en empresas grandes o centros educativos con gestión centralizada de usuarios).
- En instalaciones domésticas, normalmente no se usa.
Le damos a siguiente
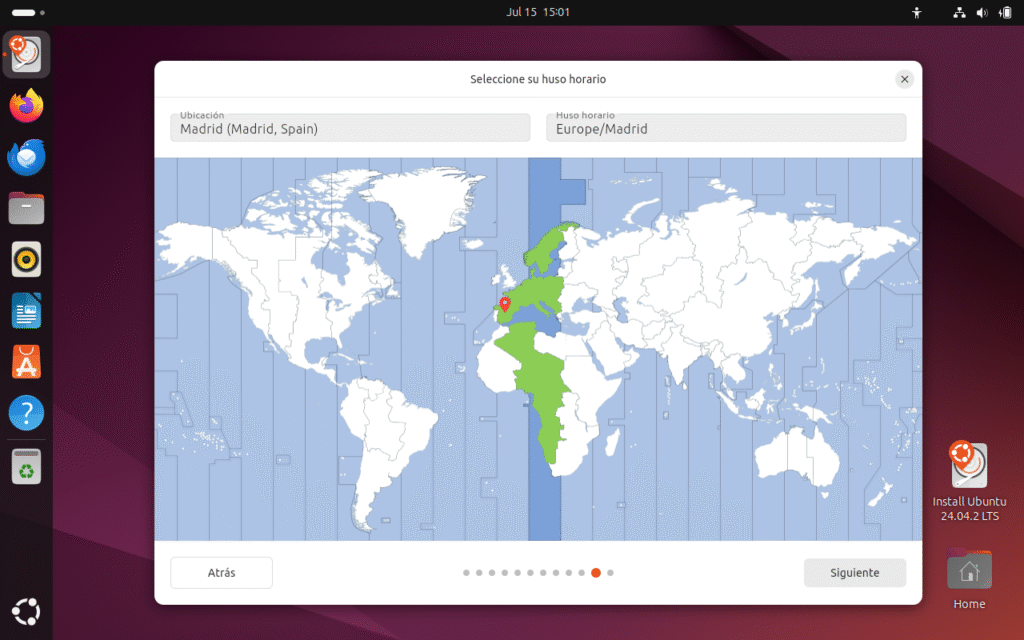
Seleccionamos nuestra ubicación y uso de horario, en mi caso Madrid (España) y Europa/Madrid, según donde vivais y siguiente:
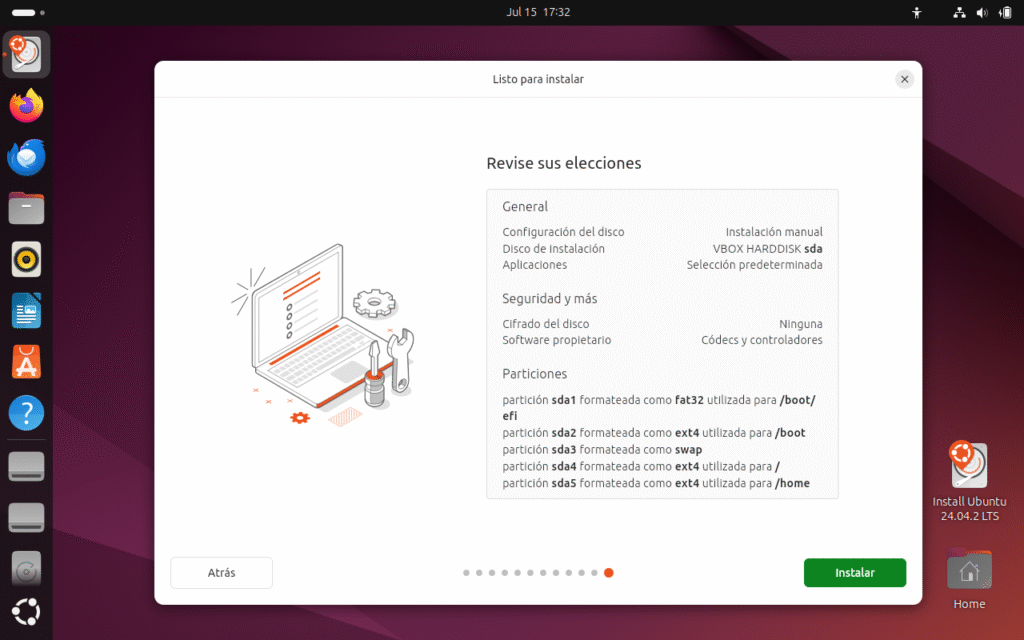
Comprobamos que todo esta correcto y le damos a instalar el sistema operativo Ubuntu Linux.
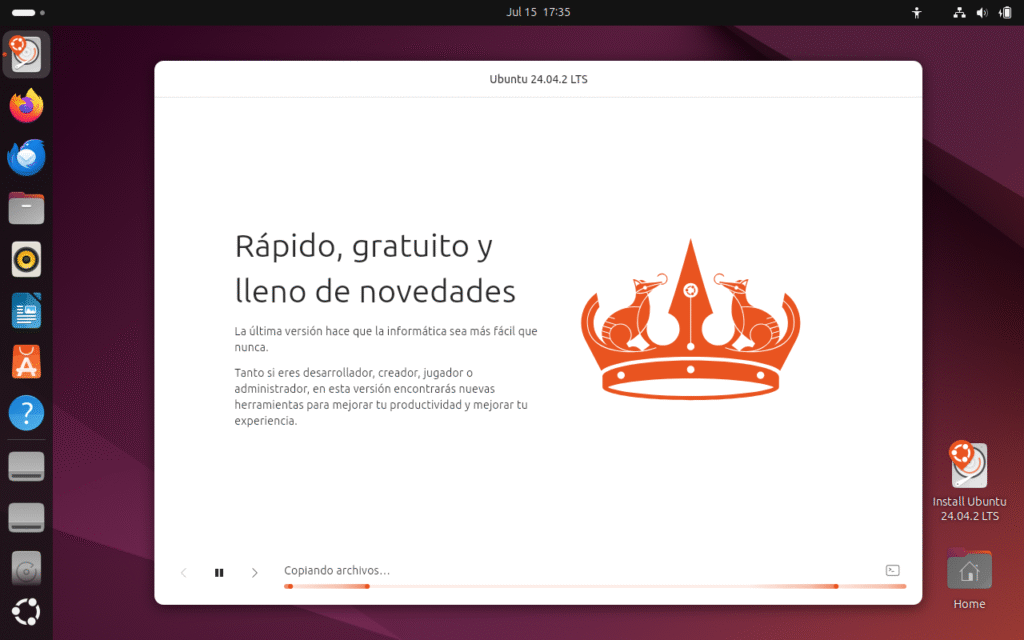
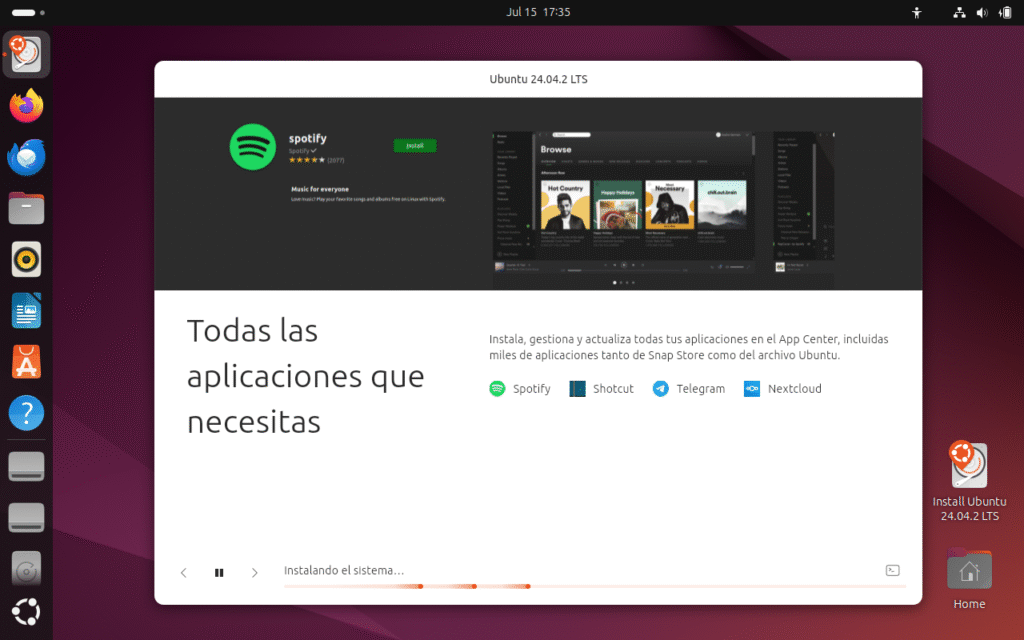
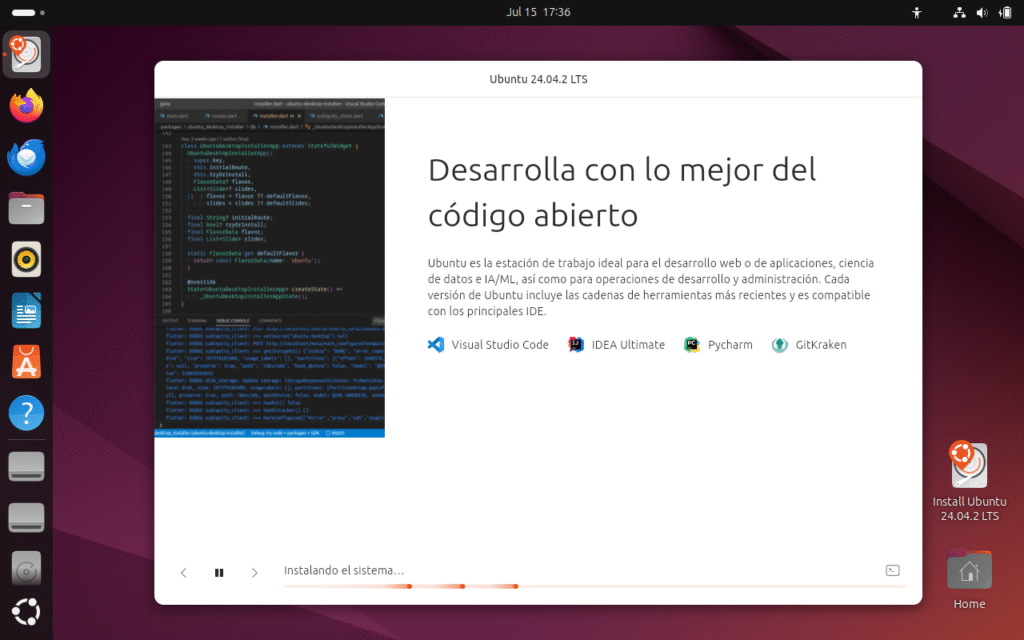
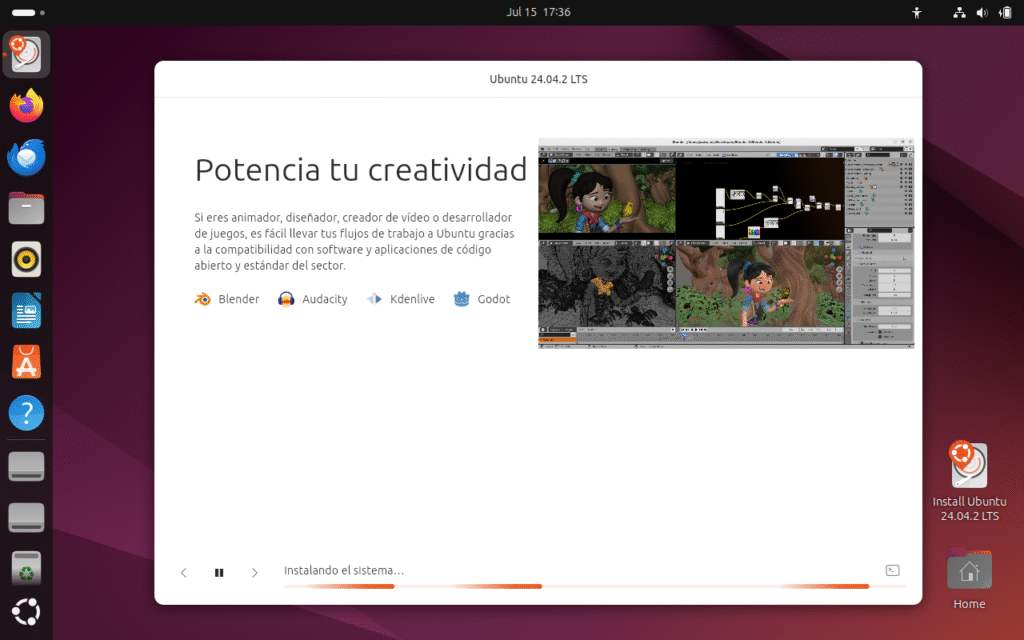
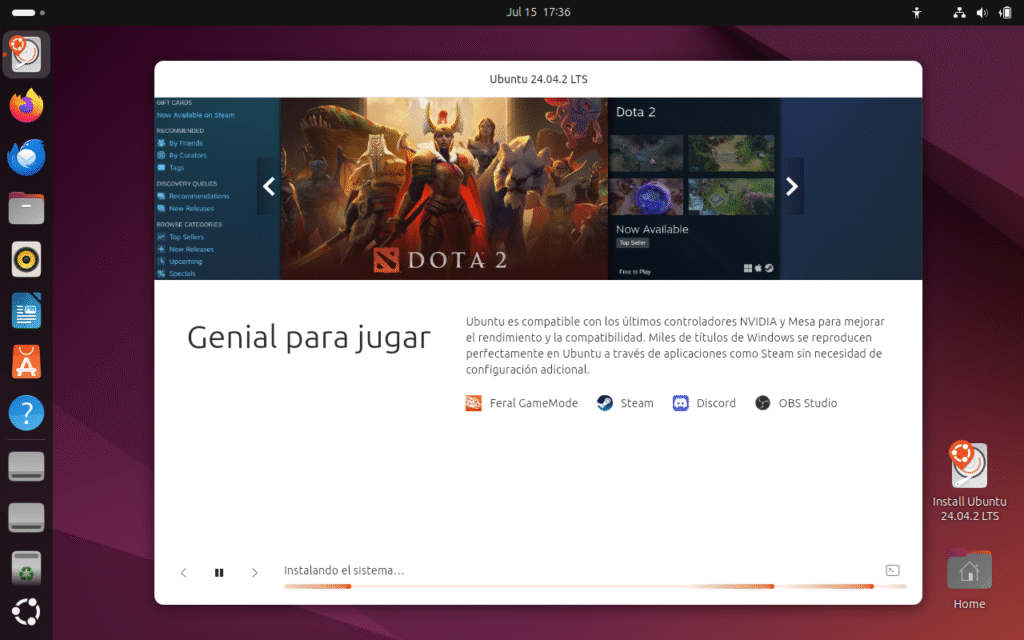
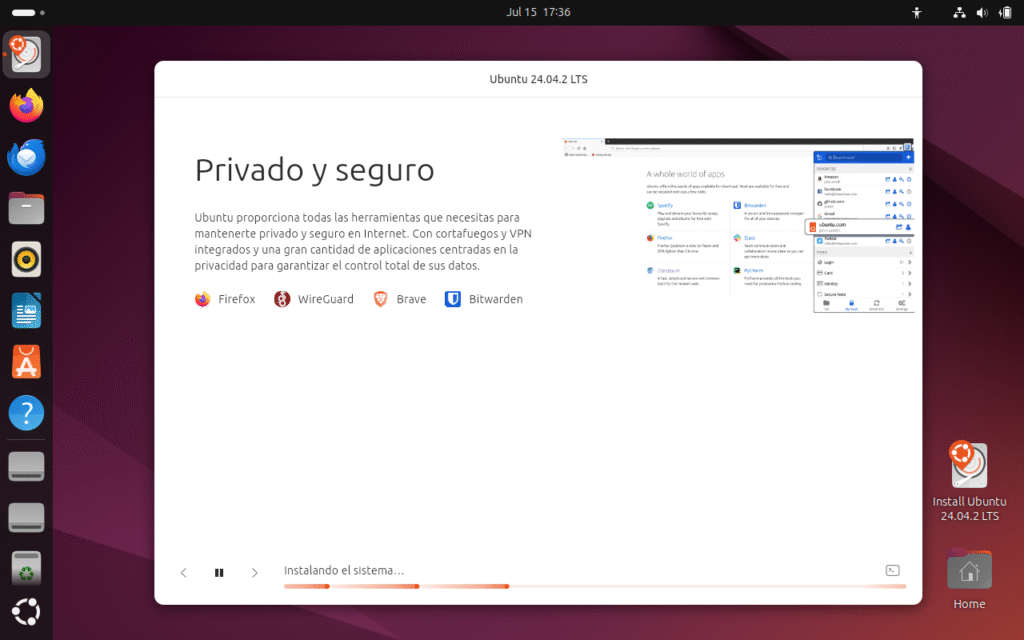
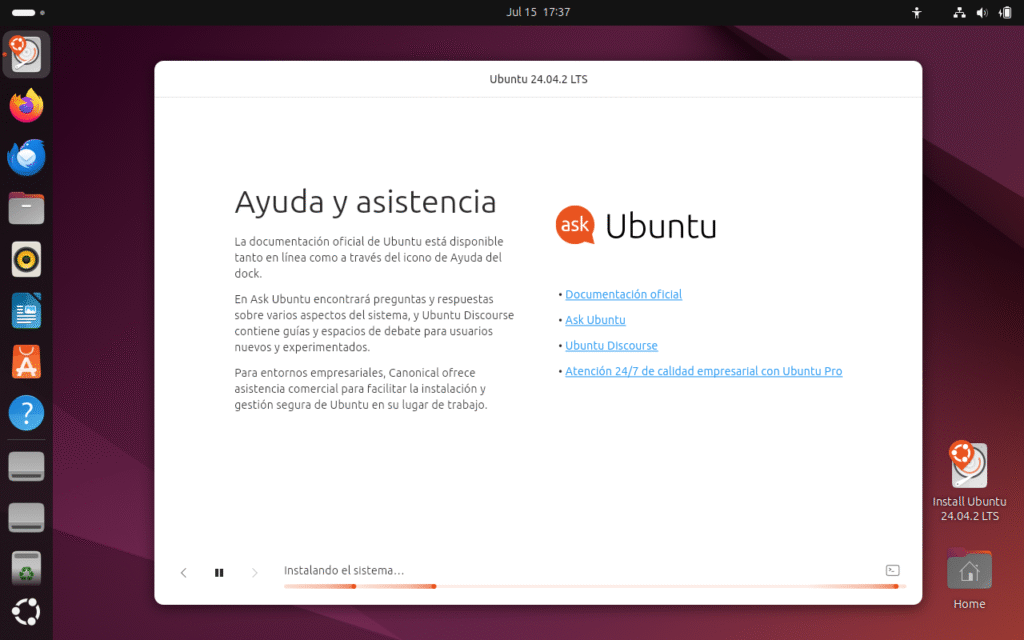
Las diapositivas de la instalación de Ubuntu 24.04 LTS
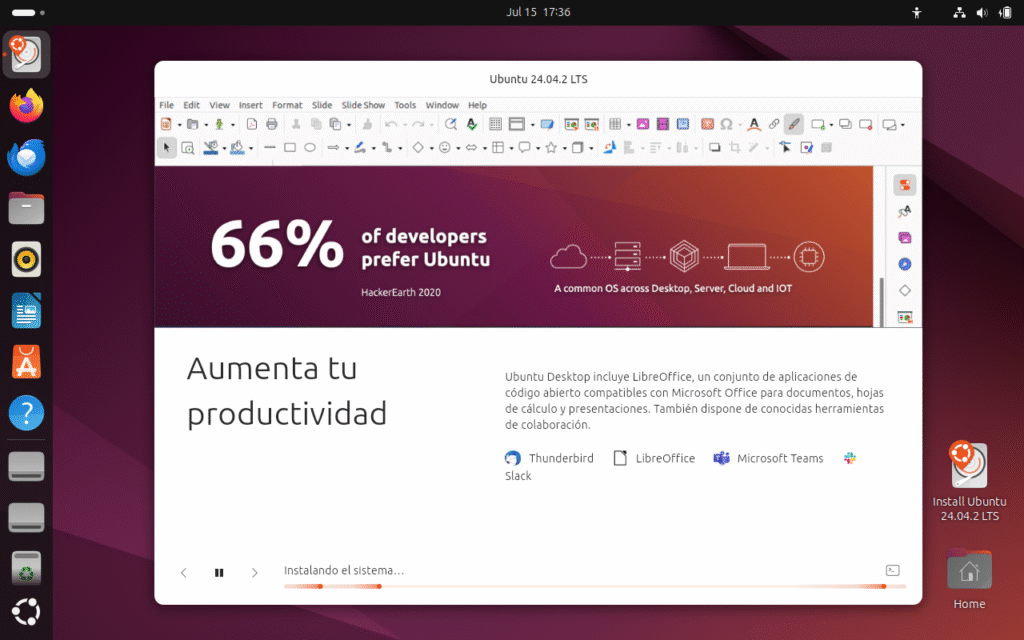

Ya finalizada la instalación de Ubuntu, toca reiniciar y ver si se ejecuta el sistema operativo y unas pequeñas tareas de configuración iniciales del sistema, podemos seguir probando la live de Ubuntu Linux, para finalizar la instalación le damos al botón reiniciar ahora.
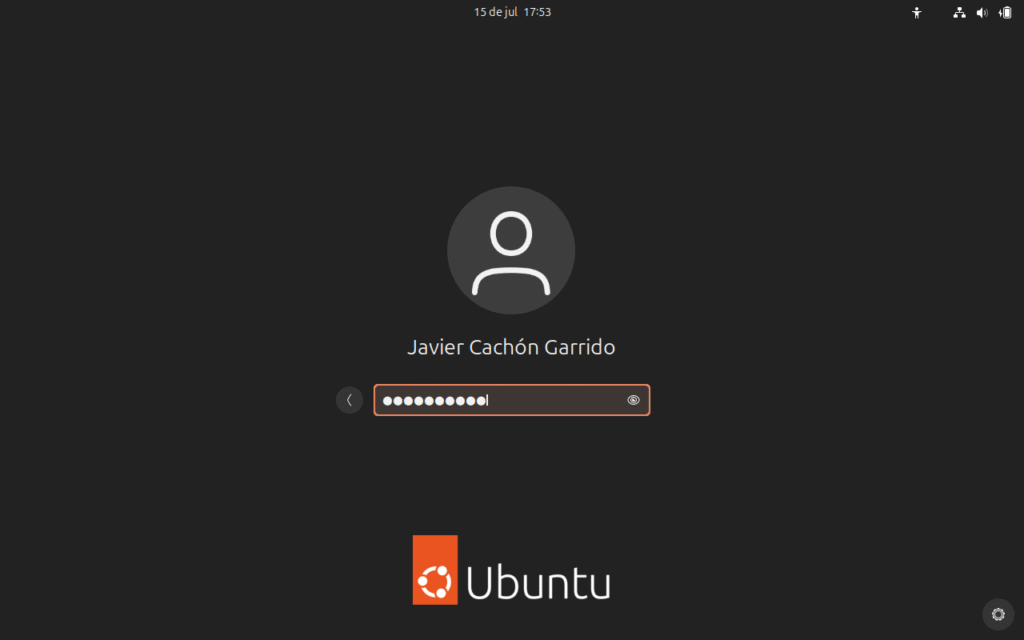
Iniciamos sesión con nuestro usuario y contraseña y damos intro…
Configuración de opciones adicionales a la post instalación
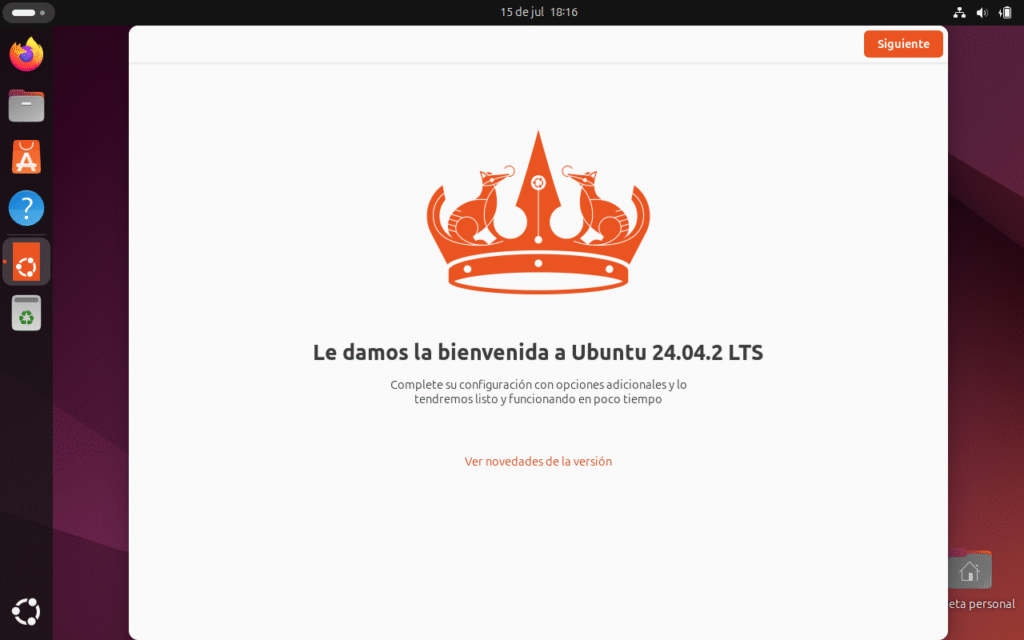
Le damos la bienvenida a Ubuntu 24.04.2 LTS
Con un diseño renovado y el icónico toque naranja, Ubuntu 24.04.2 LTS da la bienvenida al usuario con una corona simbólica que representa estabilidad y liderazgo en el mundo Linux. Esta pantalla invita a completar la configuración final, asegurando que el sistema quede listo y funcionando en pocos minutos.
Ubuntu sigue fiel a su esencia: accesible, moderno y robusto, pensado tanto para principiantes como para profesionales que buscan fiabilidad a largo plazo.
Si haces clic en «Ver novedades de la versión«, se abrirá una ventana (o pestaña del navegador) mostrando un resumen de las novedades y mejoras destacadas de Ubuntu 24.04.2 LTS.
Al pulsar «Following«, avanzas en el asistente de bienvenida para terminar de configurar tu Ubuntu.
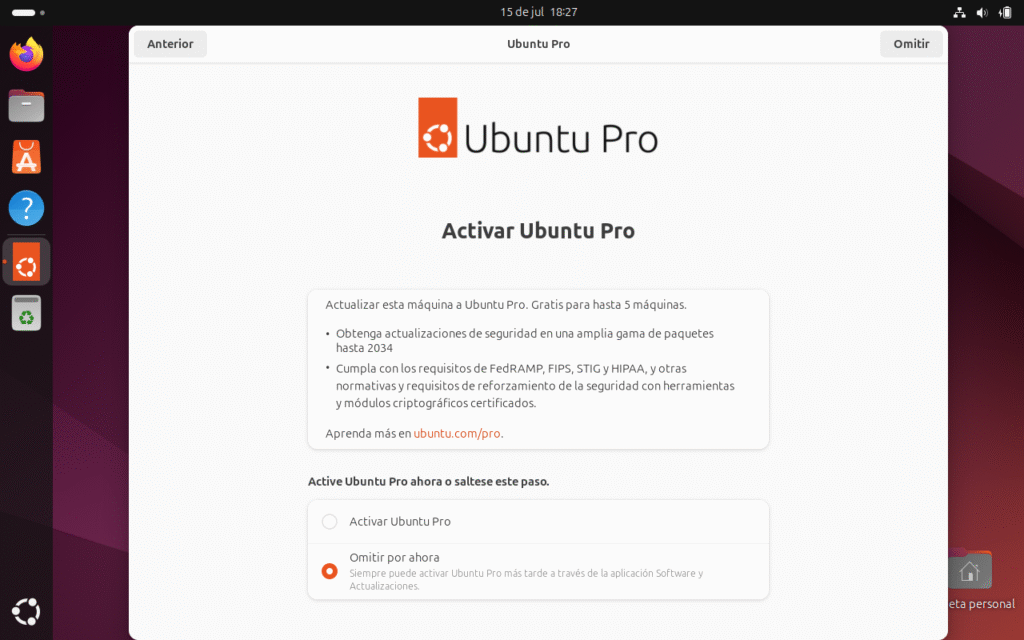
🟠 Activar Ubuntu Pro
✅ ¿Qué es Ubuntu Pro?
Ubuntu Pro es una suscripción opcional ofrecida por Canonical (la empresa detrás de Ubuntu) que amplía el soporte y las actualizaciones de seguridad.
💼 Beneficios principales
- Actualizaciones de seguridad extendidas:
- Cobertura para todo el repositorio «universe» (paquetes de comunidad), además del repositorio principal.
- Soporte hasta 2034 (10 años en total para LTS), en lugar de solo 5 años.
- Cumplimiento normativo:
- Incluye herramientas y módulos que ayudan a cumplir con estándares como FedRAMP, FIPS, STIG y HIPAA, muy usados en entornos empresariales y gubernamentales.
- Gratis para uso personal:
- Hasta 5 máquinas personales sin coste.
✅ Opciones en pantalla
🔘 Activar Ubuntu Pro
- Te permite activar la suscripción Pro de inmediato.
- Requiere iniciar sesión con tu cuenta de Ubuntu One y conectar la máquina.
🔘 Omitir por ahora (seleccionado)
- Salta la activación en este momento.
- Puedes activarlo más tarde desde «Software y actualizaciones» → pestaña «Livepatch / Ubuntu Pro».
Help improve Ubuntu
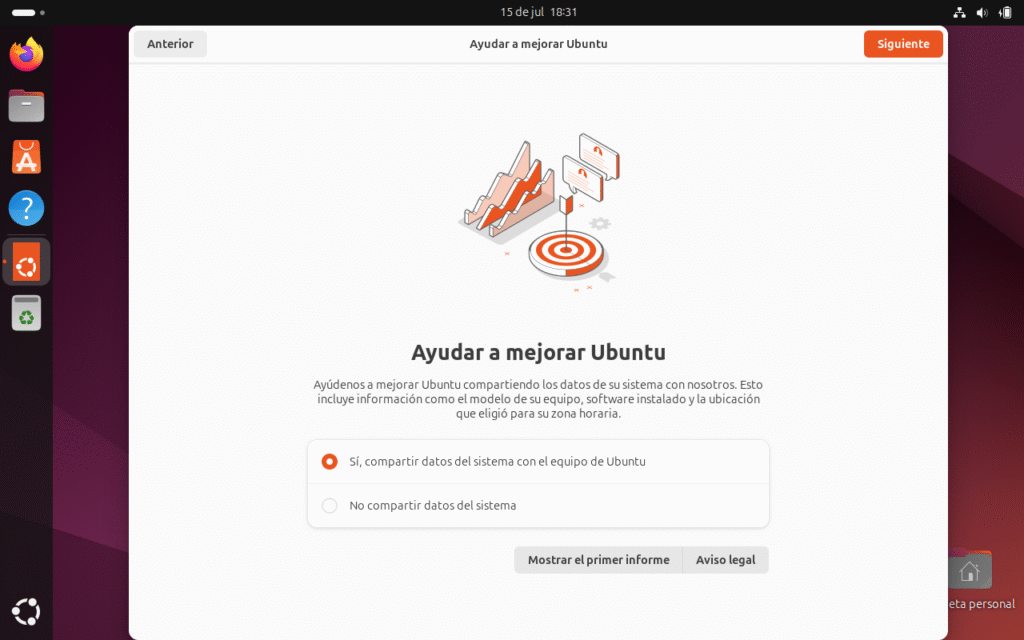
Ubuntu te pregunta si quieres compartir datos básicos de tu sistema con Canonical (la empresa que desarrolla Ubuntu) para ayudarles a mejorar la distribución.
💼 ¿Qué datos se comparten?
- Información del hardware (modelo de CPU, GPU, RAM).
- Discos y resoluciones de pantalla.
- Versión de Ubuntu y paquetes instalados.
- Configuración regional (zona horaria, idioma).
Important:
❌ No se envían datos personales, archivos privados ni contraseñas.
✔️ Se usa solo con fines estadísticos y de desarrollo.
Yo siempre ayudo a Canonical a mejorar Ubuntu.
Ir a la tienda de Software para instalar programas por click de ratón.
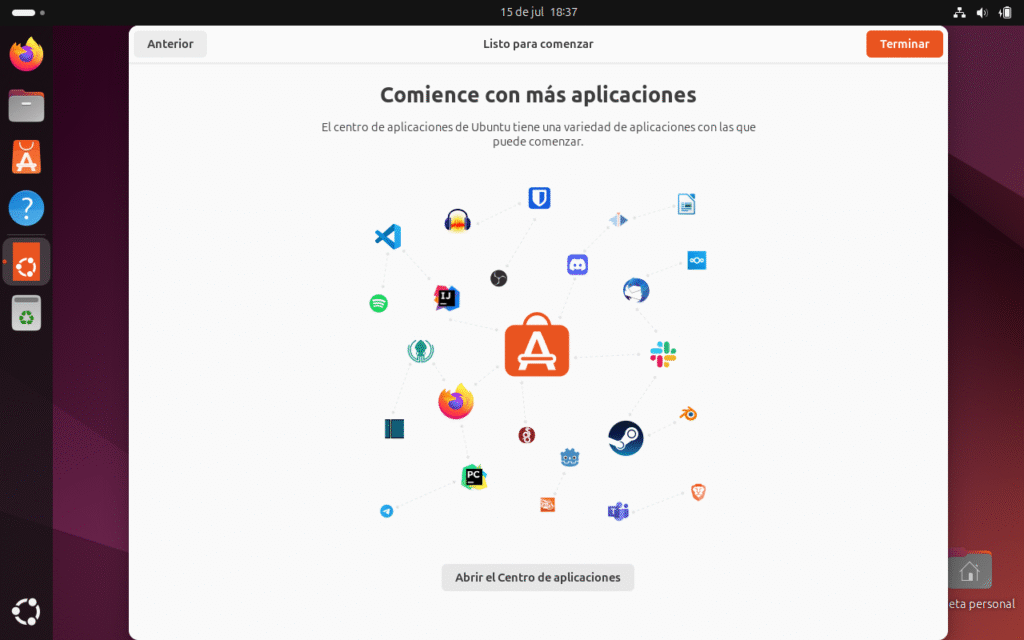
¡Felicidades por completar la instalación de tu Ubuntu 24.04 LTS! 🚀.

Descubre más desde javiercachon.com
Subscribe to get the latest posts sent to your email.